
Thank you for joining us for our final post, in our Patterns for Pirates Slim Fit Raglan sew-along!
For each sew-along post, I like to recap what we’ve already accomplished. First, I posted a bit about the pattern and supplies last month. On the 15th of this month we got started: cutting and marking our fabrics. Then, we created our triangle patch and our elbow patches. On the 19th, our most recent post, we created our side seams and neckband. Today, we finish our shirt: with cuffs, waistband, and curved hem options.
And a reminder – Rachelle has been working away making up a few awesome pattern hacks. Today’s post features a kangaroo pocket for a men’s hoodie version. Make sure to visit her blog and give her some love!
Remember – if you have any questions, you can post them here, email me, or message me through Facebook (either my personal page, or my sewing page – The Vegan Tailor). Even if you are getting up to speed a little late (or a lot late!), please feel free to contact me for any help you need.

Ready?

So today, we get to finish our shirt with whatever varieties of cuff and hem we choose! The curved hem is on page 11, and the cuff and waistband are on page 12 and 13! I am going to go in a different order – starting with cuffs first!
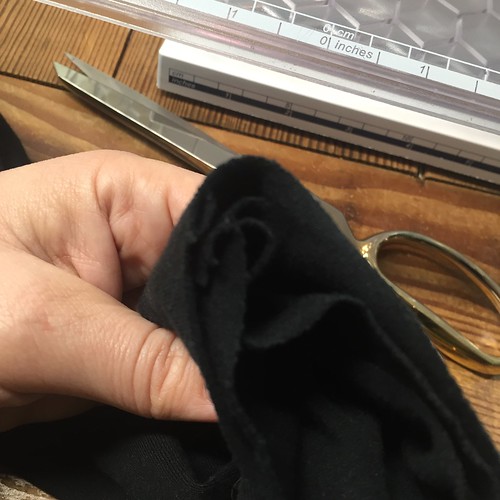
So, you remember when we cut out our cuff bands, and our sleeves, I had us take a nip into the seam allowance at the center of the long side of the cuff, and the center of the raw edge of the sleeve? This is where those clips come in handy: after joining the cuff’s short ends right sides together, pressing this seam open, and folding the cuff wrong sides together, I slide the sleeve, right-side out, into the cuff. I line up the seams of both these pieces, and then line up the center notches. I usually use about four pins to secure these pieces together.
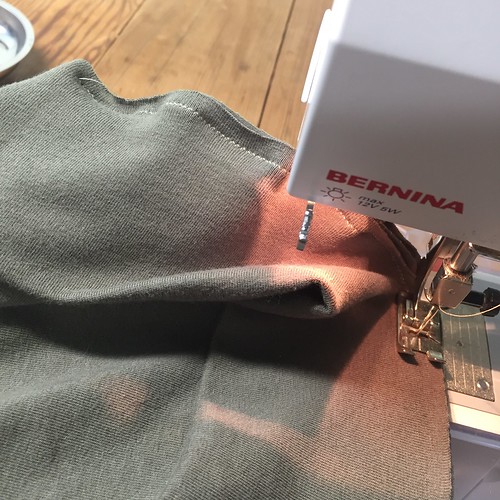
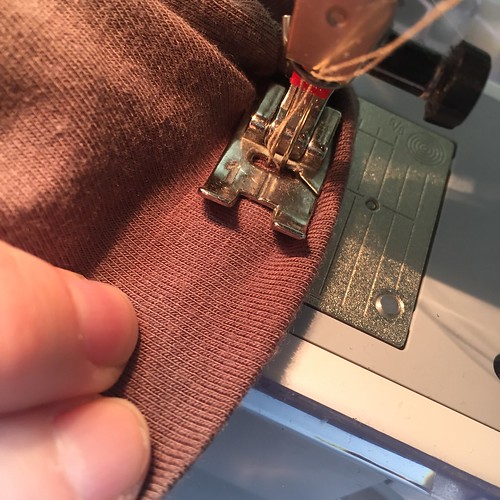
I take the cuff assembly to the machine and sew, with the cuff facing up and the sleeve against the machine bed. This is a bit of a tricky seam, but go slowly (I have sewn MUCH smaller cuffs, for babywear!). After I take one pass with my narrow zig zag, I inspect there are no little puckers in the seam – and then I stitch again, 1/8″ from that first seam, and trim the seam down.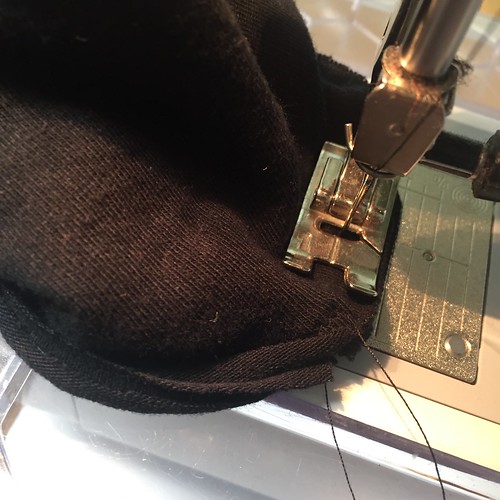
You are only your hem finish away, from being done!
For our waistband, the process is the same as the cuffs – but please read through this paragraph before sewing. First, we join the short ends of the waistband together, right sides together. We press open this seam, then fold the waistband wrong-sides together. With our shirt right side out, we pin the band to the shirt hem, matching up the center front of both shirt. Then, we stitch and finish this seam.
But! Just as I’ve discussed vis-a-vis our neckband, we need to make sure our waistband is long enough for the shirt body. If you are using a high stretch ribbing or other knit for this band (as recommended by the pattern), you should have no problems. If you have a knit with a little lower stretch, you will want a band that is roughly ([completed finished circumference of the shirt * 80%] + 2*[ seam allowance]).
Notice how I said “roughly”? Don’t get too worried over this. With time, matching up band length becomes second nature.
So if your finished shirt hem (with side seams joined) measures 40″, you would calculate as follows:
([40″ * 0.8] + 2*[“0.5] –> (32″ + 1″) –> 33”
– and cut a band 33″ long!
Once you have your band sorted, pin at center front and back, divide the excess evenly (pin about every two inches for best results), and sew with the shirt against the machine bed and the band facing up, to best gather the excess at the seam:
After you’ve joined and made sure there are no pleats in this seam, go ahead and finish the seam by stitching again, and trimming.
Now, let’s tackle that curved hem (page 11 of the pattern)!
Curved hems can be tricky, because it is easy to have a wonky or rippled result. I’m going to show you my favorite and fastest method to get a nice edge.
First, I serge-finish the raw edge carefully, to get a nice flat edge. If you do not have a serger, You can either zig zag (you may need to stabilize under the raw edge), use spray starch to stiffen the edge a bit, or sew at 1/4″, a narrow zig zag (0.5mm wide by 3.0mm will probably work well). You can also, if your knit is stable enough, leave the edge raw.
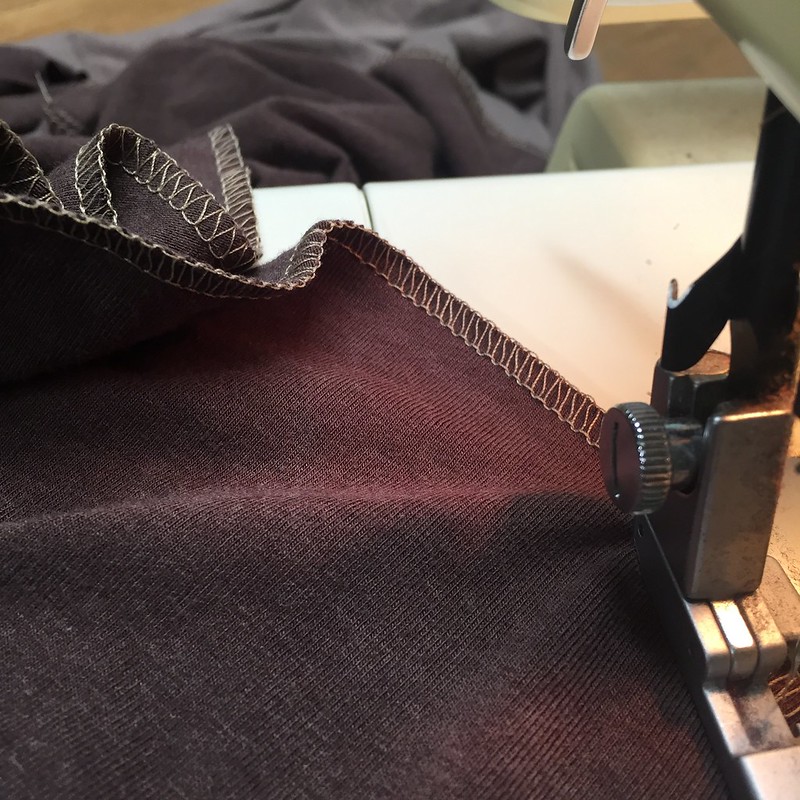
Take your shirt to the ironing board and press up at that 1″ (you notice here, I only pressed up about 3/4″, because I wanted a teeny bit more length to the shirt. Take your time and be very patient with this pressing. It will pay off when you sew!
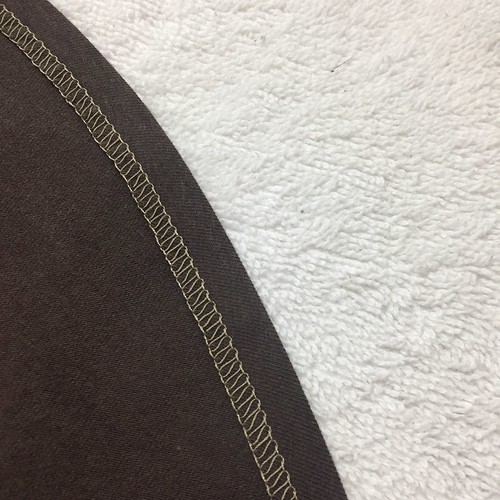
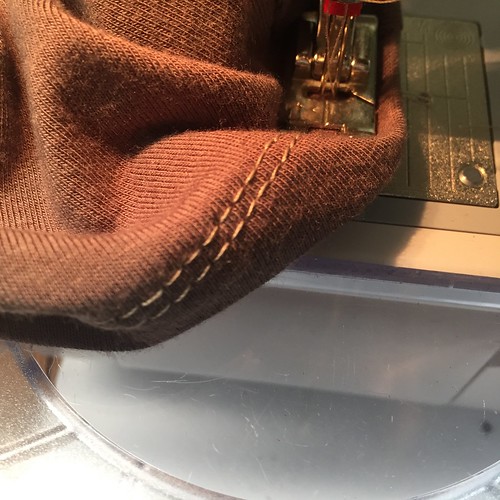
Then, it’s time to get that twin needle action going!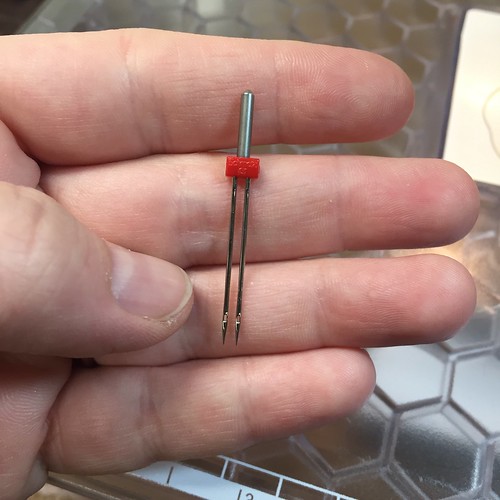
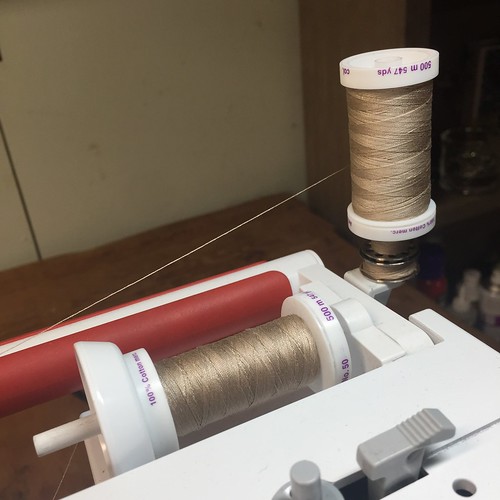

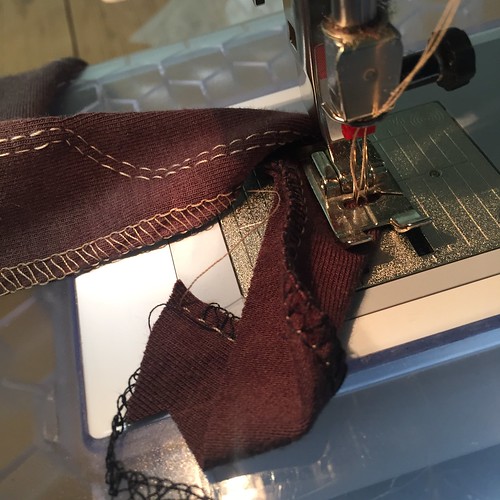
If you haven’t yet used the twin needle (on your sleeves or neckband), remember to practice on scraps to get your stitch length and tension correct:
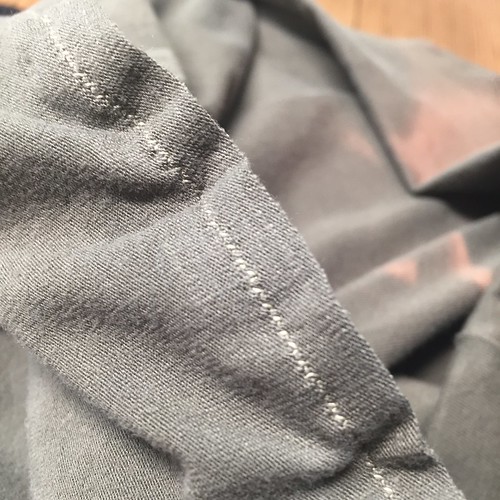
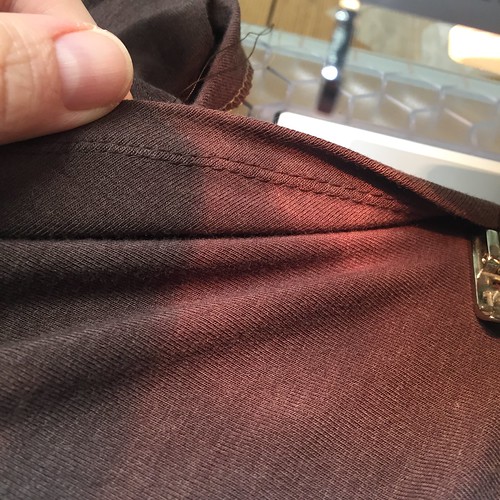
Take your pressed hem to the machine. You’ll be sewing from the top side of the garment. This is why you want a very even hem. Sew slowly, and guide the seam using the seam guides, as well as the feel with your fingers – you can feel that “ridge” of stitching:
After you’ve finished this seam, go ahead and press it ONE more time! All of this pressing will result in a hem that wears well.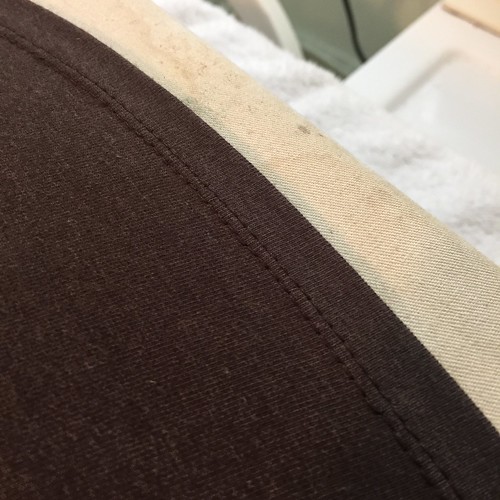
And – you’re all finished!
Can you believe it? You’re done!

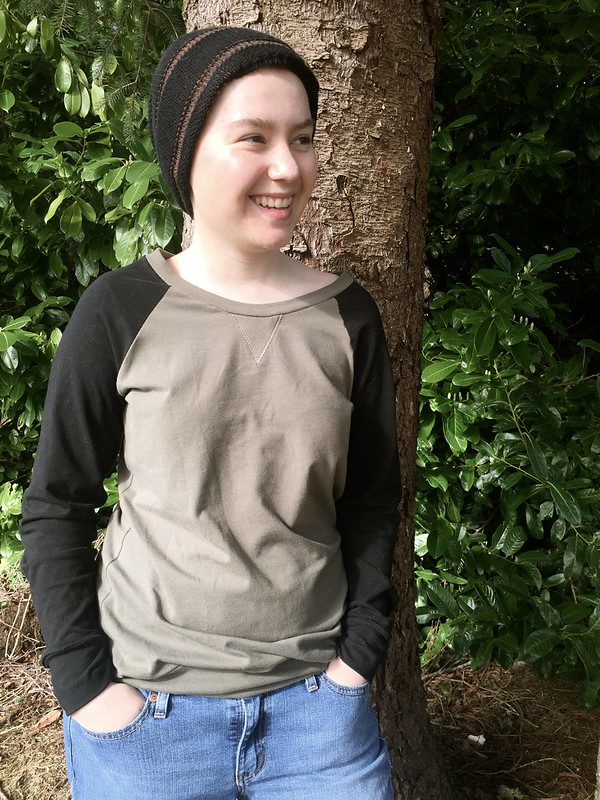
I hope you enjoyed this sew-along, and now are the proud owner of a great raglan shirt! In the meantime if you have questions you can email me, comment here, or find me on Facebook (on my personal page or at The Vegan Tailor)!
